My Furniture Refinishing Process
How I Refinish Furniture: From Sanding to Clear Coat
Welcome back to the Craft & Revive blog! I hope you enjoyed my introduction post—now let’s dive into what I’m truly passionate about: furniture refinishing.
Finishing and refinishing furniture was my first love when I started working in this trade. I got my start at a furniture store in Centerville, Ohio, where I learned the foundational skills that I still use today.
Step 1: Sanding – The Most Important Part
In my opinion, sanding is 70% of the entire finishing process. A great finish starts with proper prep, and nothing sets the tone like clean, even sanding—especially when you’re working with raw wood and planning to stain it.
Here’s my typical sanding process:
Start with 100 grit sandpaper (I prefer using my Festool random orbital sander with a vacuum attachment—virtually no dust).
Move to 120 grit to begin smoothing out the surface.
Finish with 150 grit for the perfect balance of smoothness and stain absorption.
There’s a lot of debate about how far to go with sanding—some finishers swear by 150, others prefer 180 or even 220. Personally, I stick with 150 because it keeps the wood open enough to accept the stain evenly, without being so smooth that it blocks absorption.
Pro tip: Always use a vacuum system with your sander. It removes the dust while you work, helps your sandpaper last longer, and prevents swirl marks.
Step 2: Staining – Learning the Right Way
I’ll be honest—my first attempts at staining didn’t go so well. I didn’t fully understand how the stain worked or how to apply it properly. Thankfully, I started with oil-based stain, which dries more slowly than water-based stain and gave me extra time to work and avoid lap marks (any finishers reading this will know the struggle!).
Here’s how I approach staining today:
Always stir your stain thoroughly. Pigments settle at the bottom, and it’s important to scrape them up and mix them back in for even color.
I prefer using a staining pad, but you can also use a high-quality white china bristle brush or a dedicated stain applicator.
I apply in circular motions to get the stain into all the nooks and crannies.
Keep two clean rags nearby. Once one gets too soaked, switch it out. If you keep using an overly saturated rag, you’ll get blotchy spots where some areas end up darker than others.
My go-to product is ICRO stain, which comes with a catalog of 197 formulas you can recreate—tons of options and consistent results.
Step 3: Clear Coating – Where the Magic Happens
For the clearest, smoothest finish, I prefer to spray my clear coats rather than brushing them on. It gives a flawless, even result every time.
Here’s what I use:
For small pieces, I go with a LVLP spray gun—easy to clean and efficient.
For larger jobs, my favorite tool is the Kremlin EOS 30C25 air-assisted airless sprayer. I love this thing—it delivers the best finish I’ve ever gotten.
I use a 0.9 tip for great atomization, and I always add air to the gun for an even finer spray pattern.
If you’re finishing high-traffic surfaces like kitchen cabinets, tables, or countertops, catalyzing your topcoat is a must. It makes the finish stronger and more resistant to wear, heat, and even common household cleaners.
I also use ICRO clear coats, and my favorite is the W-5000. It levels beautifully and holds up incredibly well.
Want to Try ICRO Products Yourself?
If you’re interested in using the same products I do, you can order ICRO stains and clear coats from:
Both sites offer excellent customer service, and the people behind them are super knowledgeable and helpful.
Wrapping It Up
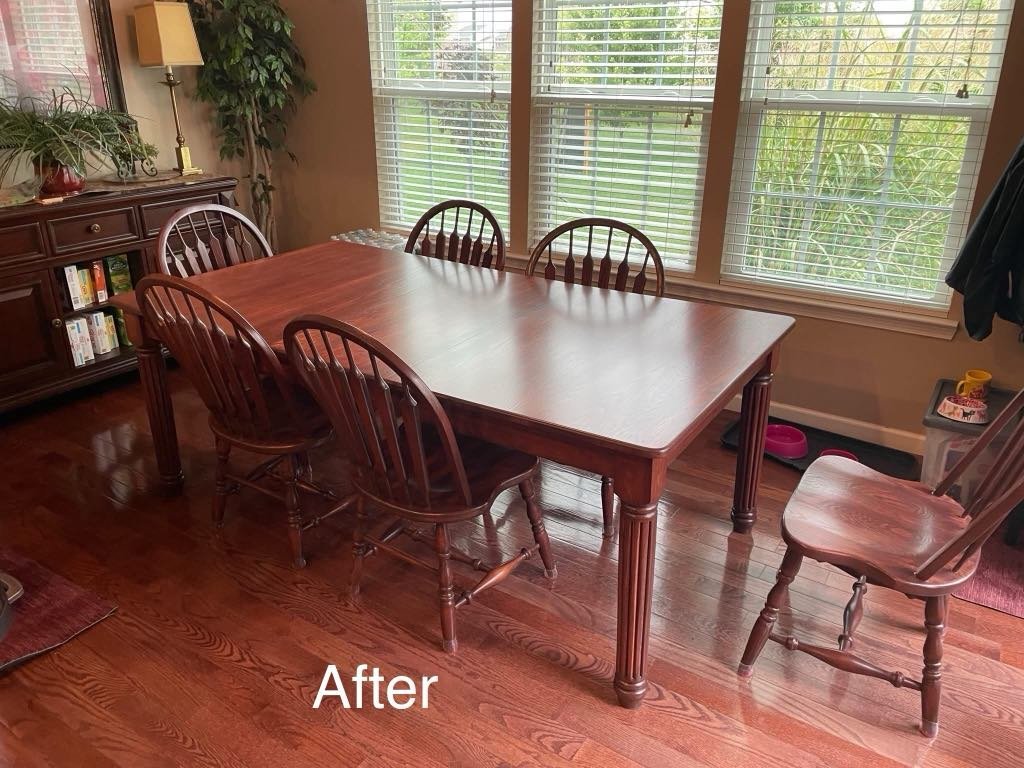
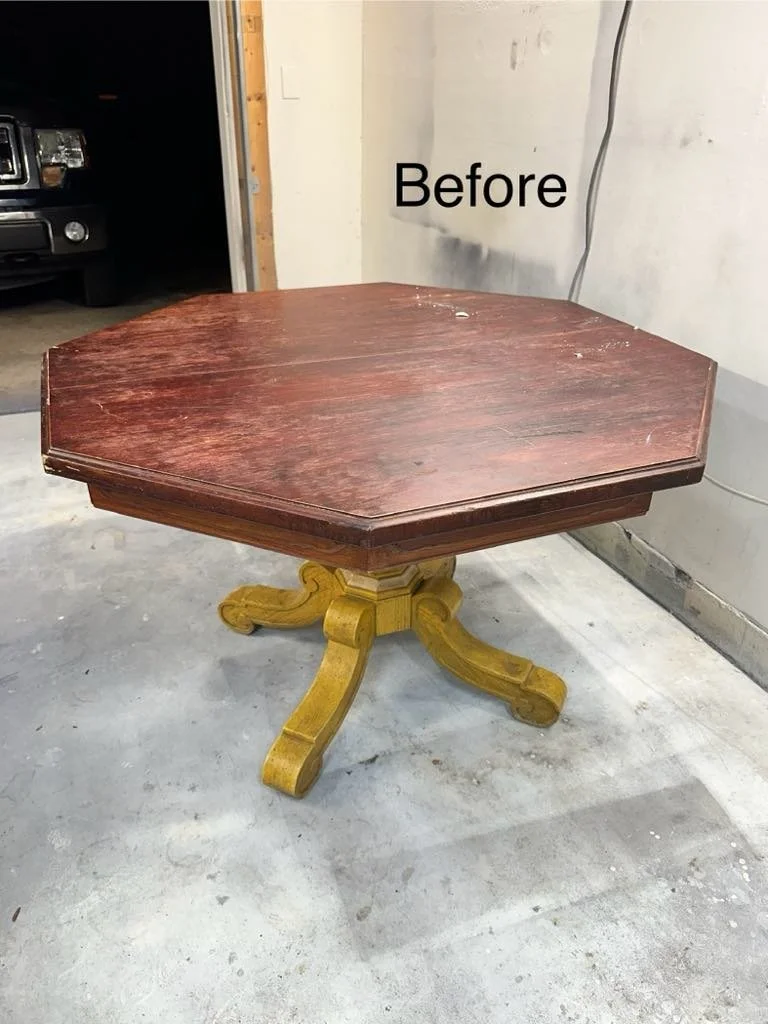
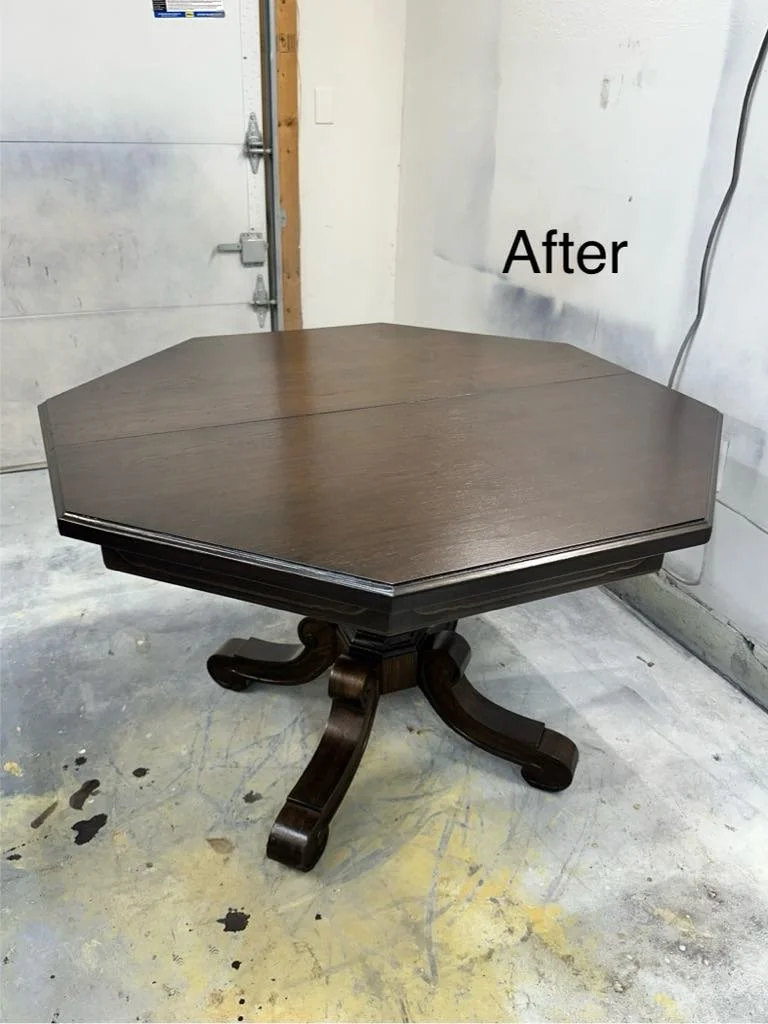
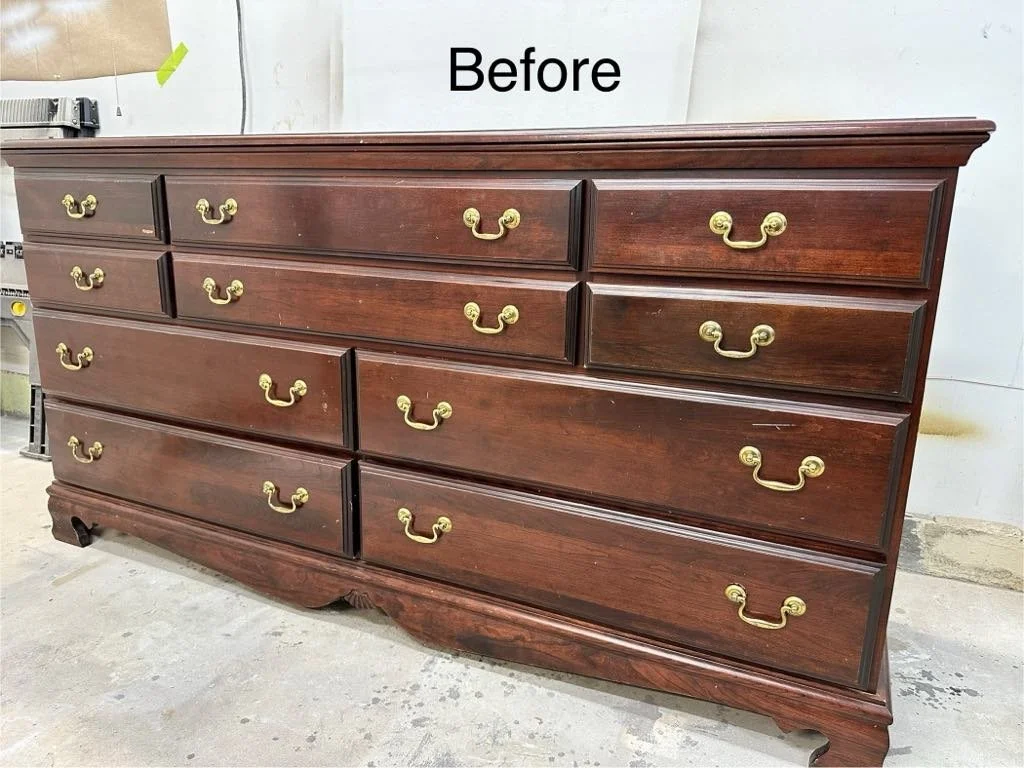
Furniture refinishing is more than just a job for me—it’s something I truly love doing. There’s nothing like taking a worn-down piece and giving it a second life with the right prep, the right products, and a whole lot of attention to detail.
If you’ve got a furniture project in mind and want professional results, I’d love to help. Reach out here, or just shoot me a message—I'm always happy to chat about new ideas.
We use many of the same prep and spray techniques on furniture that we use on cabinetry.
👉 Check out our full cabinet refinishing process here.
Thanks for reading, and stay tuned for more behind-the-scenes posts, tips, and before-and-afters coming soon!
– Rob


