My Full Front Door Refinishing Process – Start to Finish (Dayton Area)
A Durable Finish That Can Handle Dayton Weather
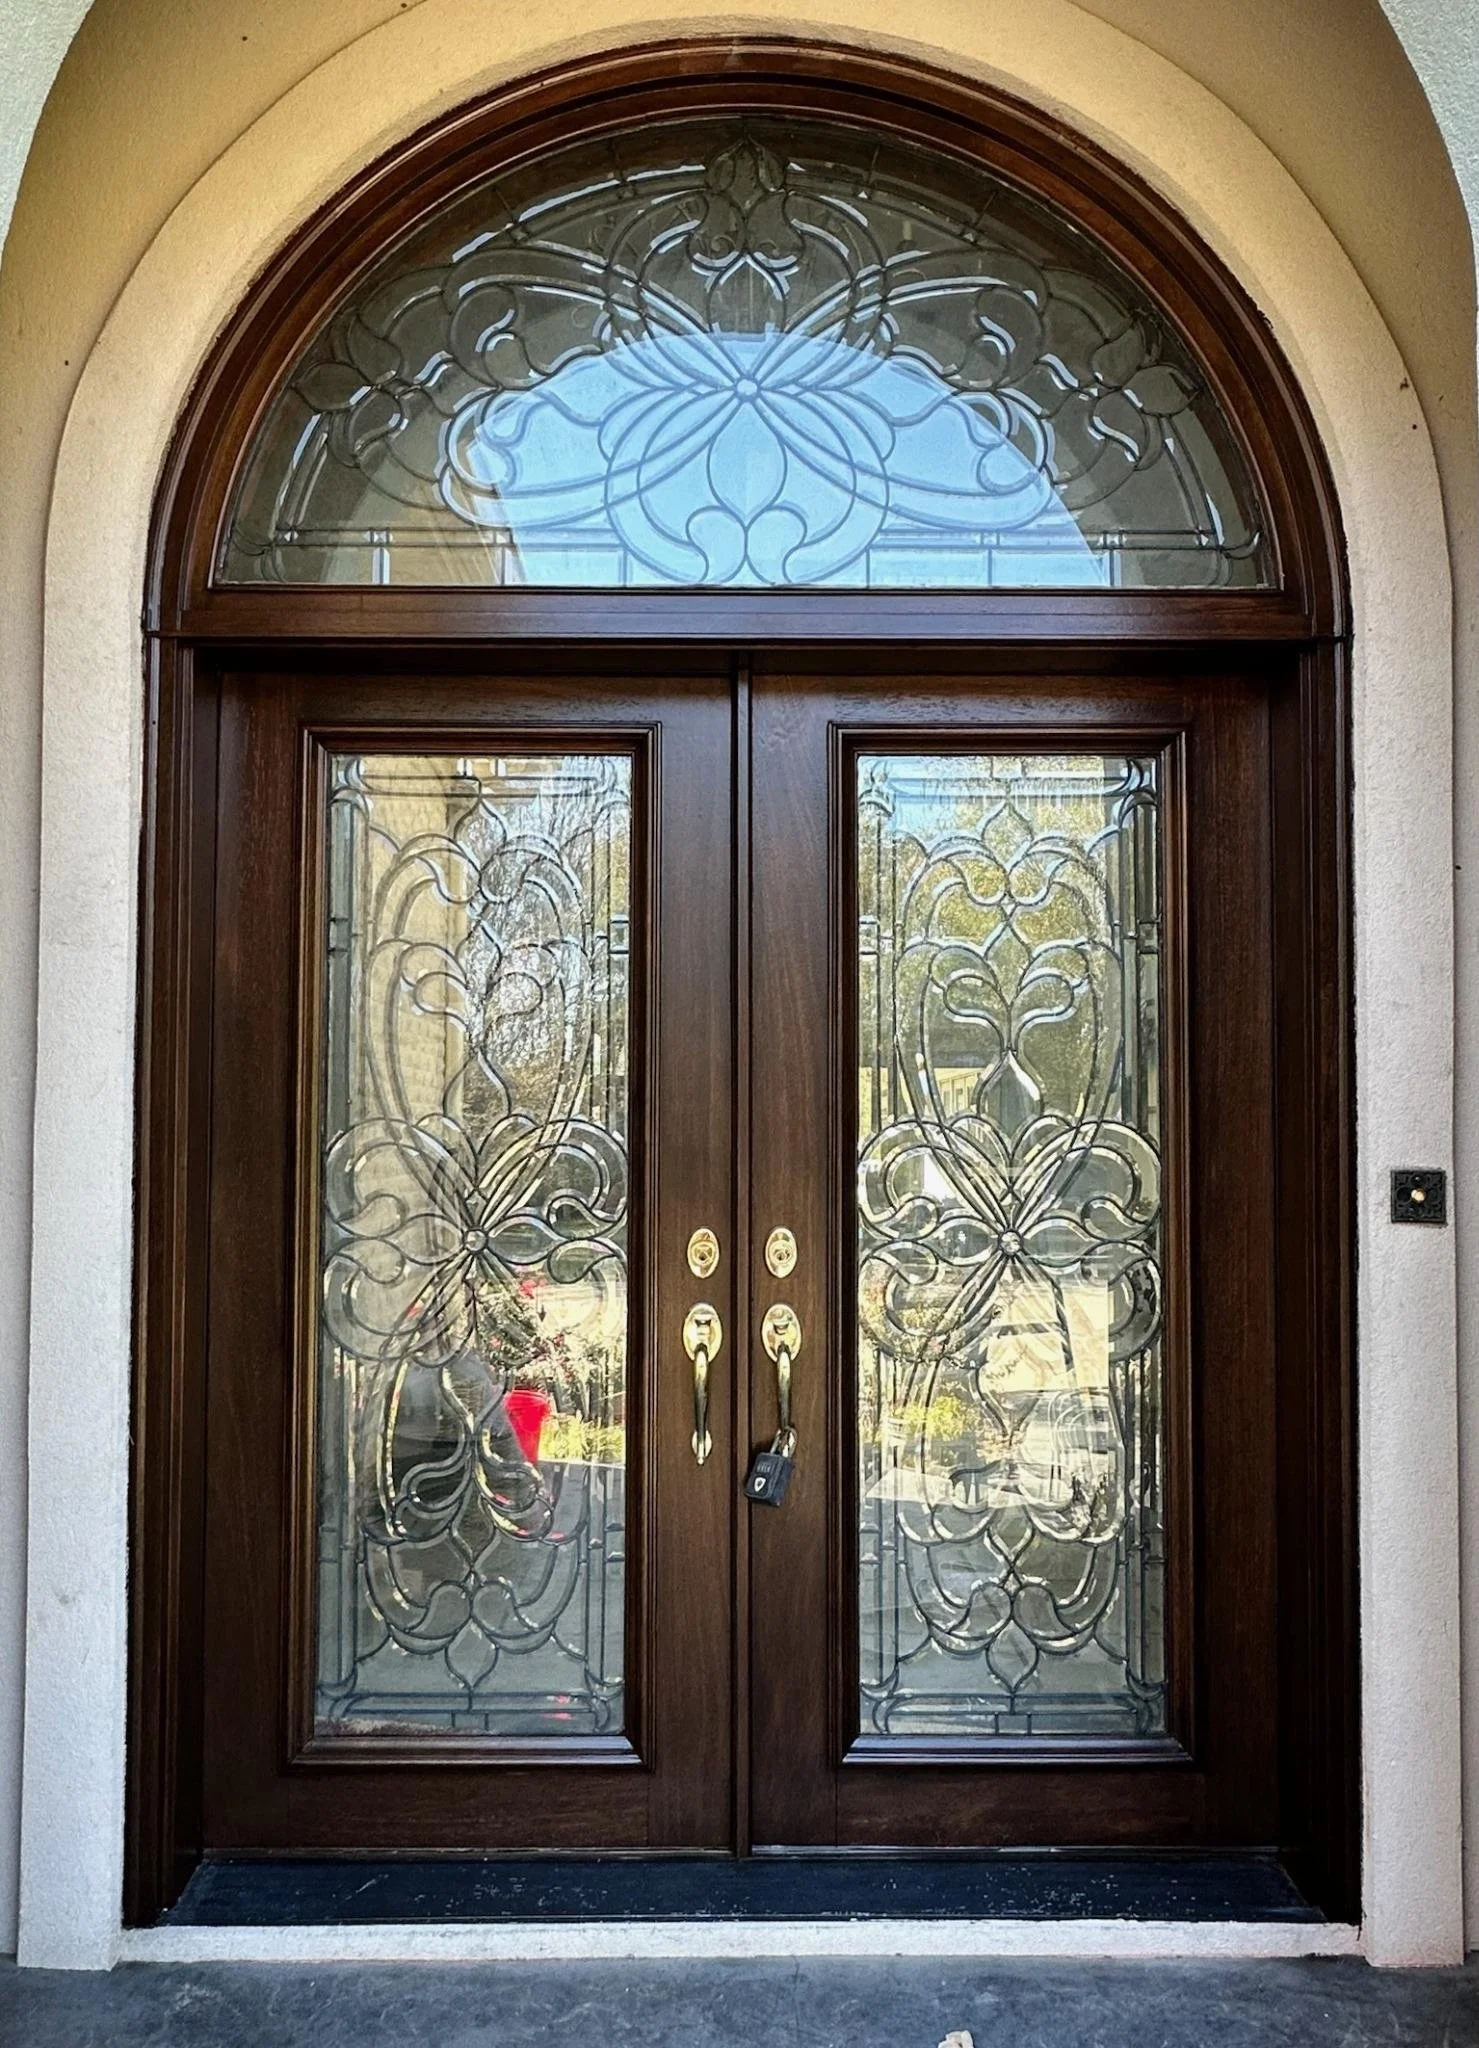
Your front door is the first thing people see — it’s the gateway to your home. It says a lot about your style, and it takes a beating year-round. In Dayton, Cincinnati, and Columbus, we deal with harsh winters, hot summers, and high humidity, all of which can cause cracking, fading, and weather damage over time.
This post walks you through exactly how I refinish front doors, on-site, from start to finish — whether you're considering a door project yourself or just curious how the process works.
🔧 Why I Work On-Site
Unlike some companies that remove the door and refinish it at their shop, I complete all my front door refinishing on location. That means no boarding up your entryway, no drafts, and no inconvenience.
🧰 Step 1: Hardware Removal
I start by removing the weather stripping and replacing it with brand new pieces when the job is done. Weather stripping wears down over time and often loses its insulation power.
Next, I remove the hardware, including the Yale lock, to allow for a smooth sanding and stain application. This also ensures that if the homeowner ever changes hardware in the future, the finish will still look uniform.
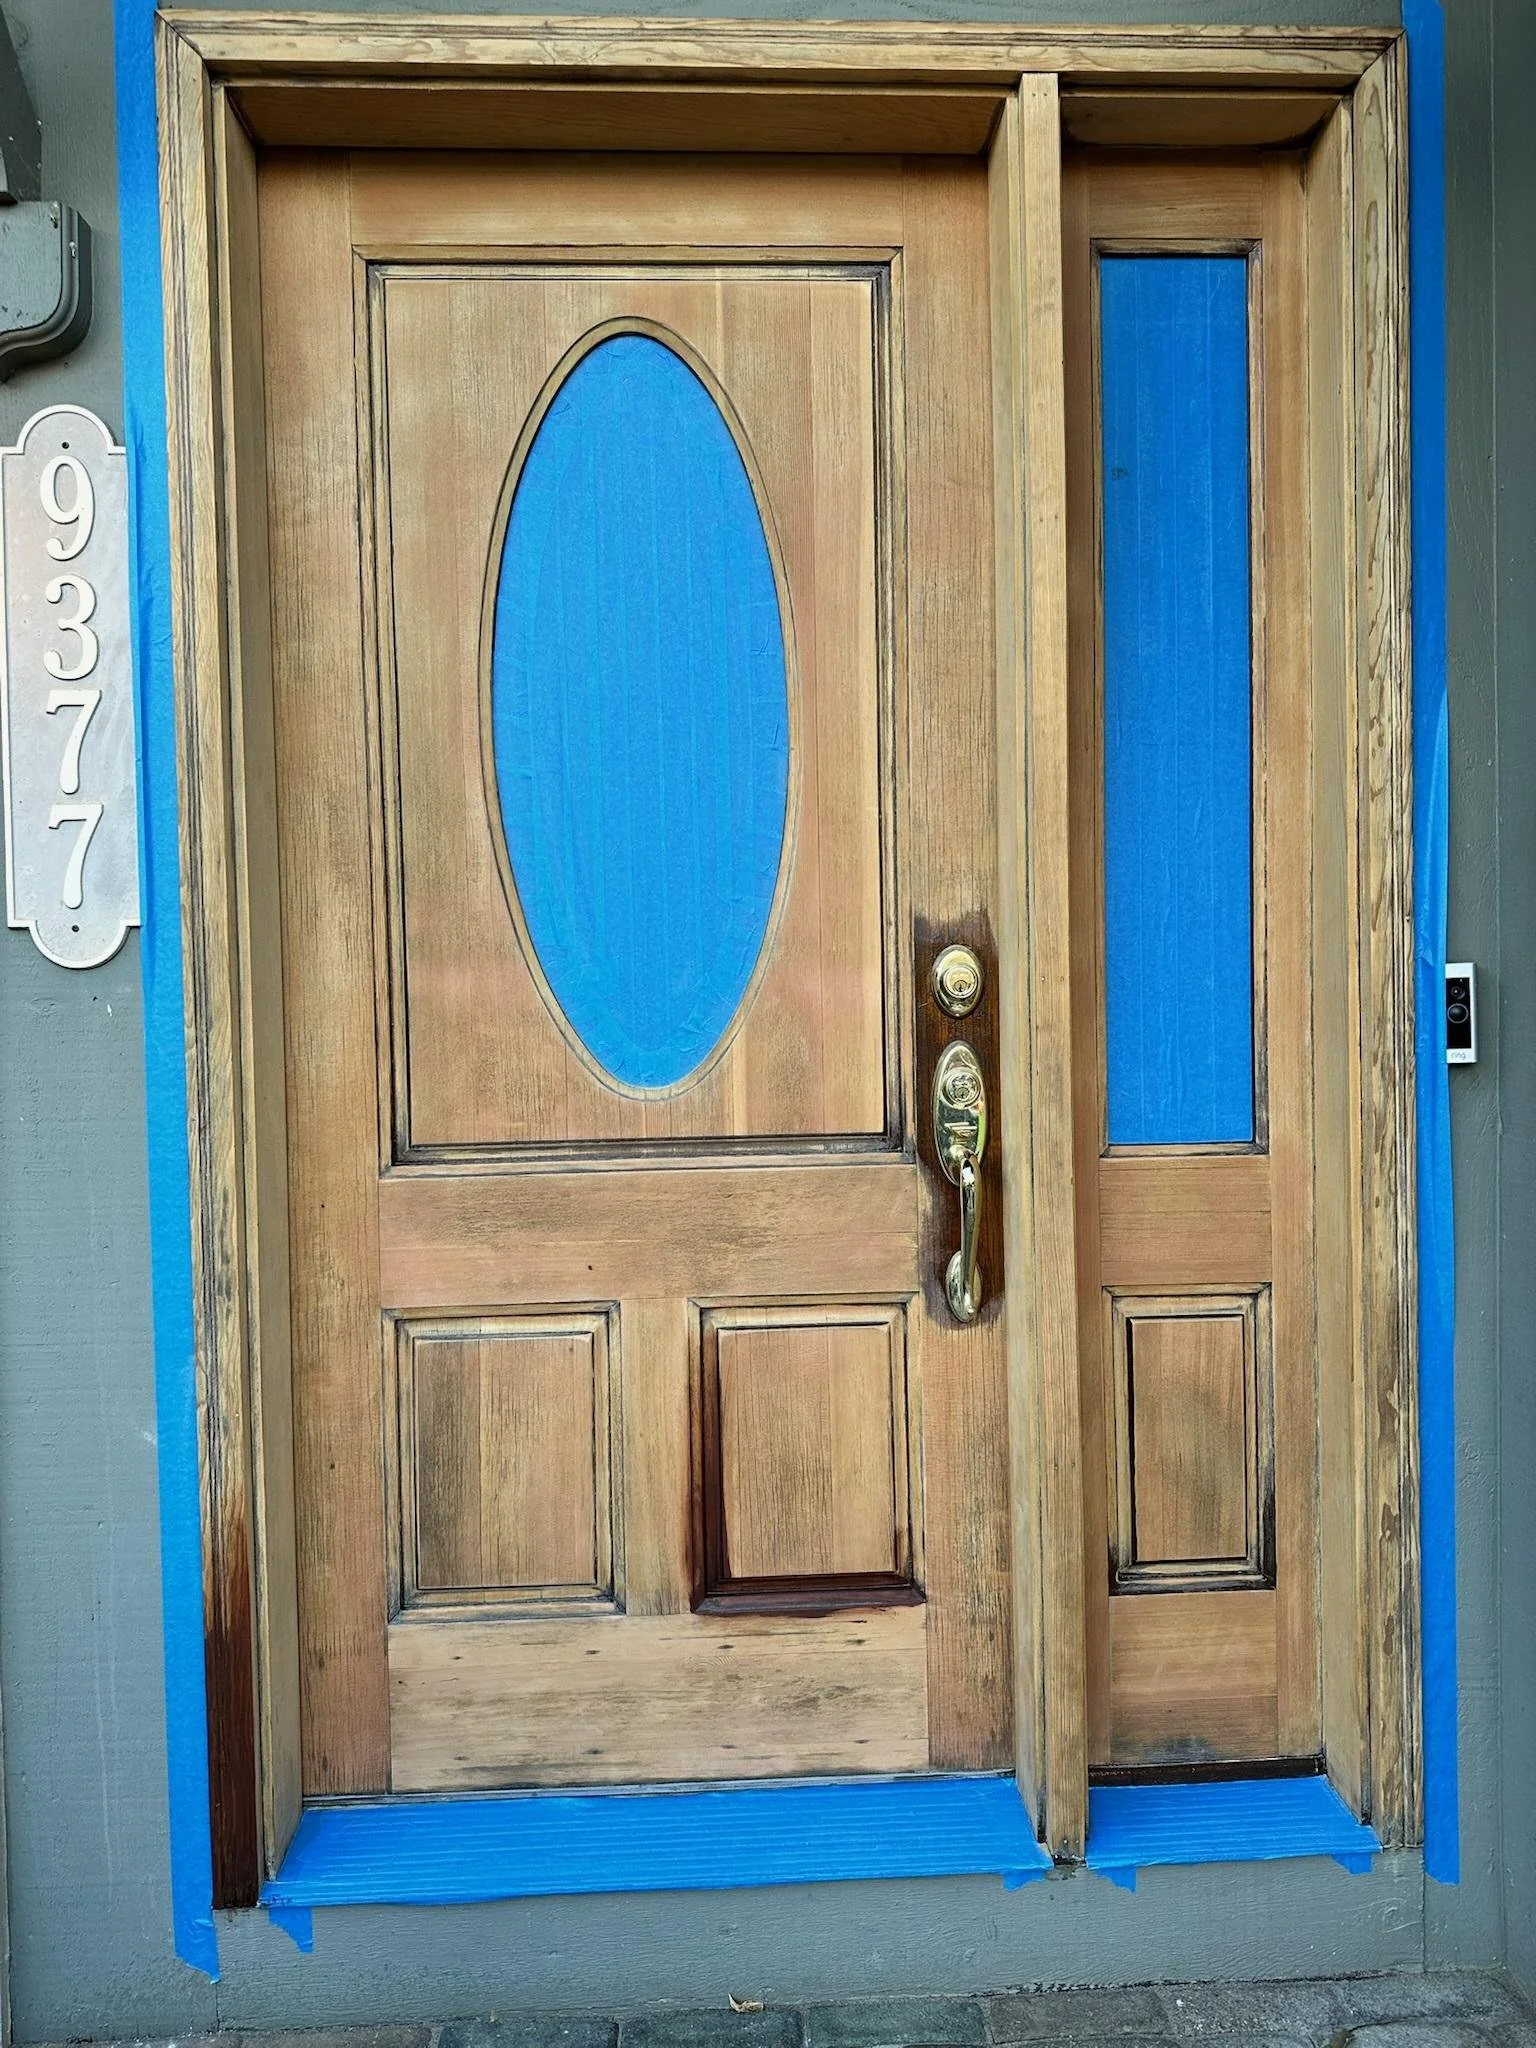
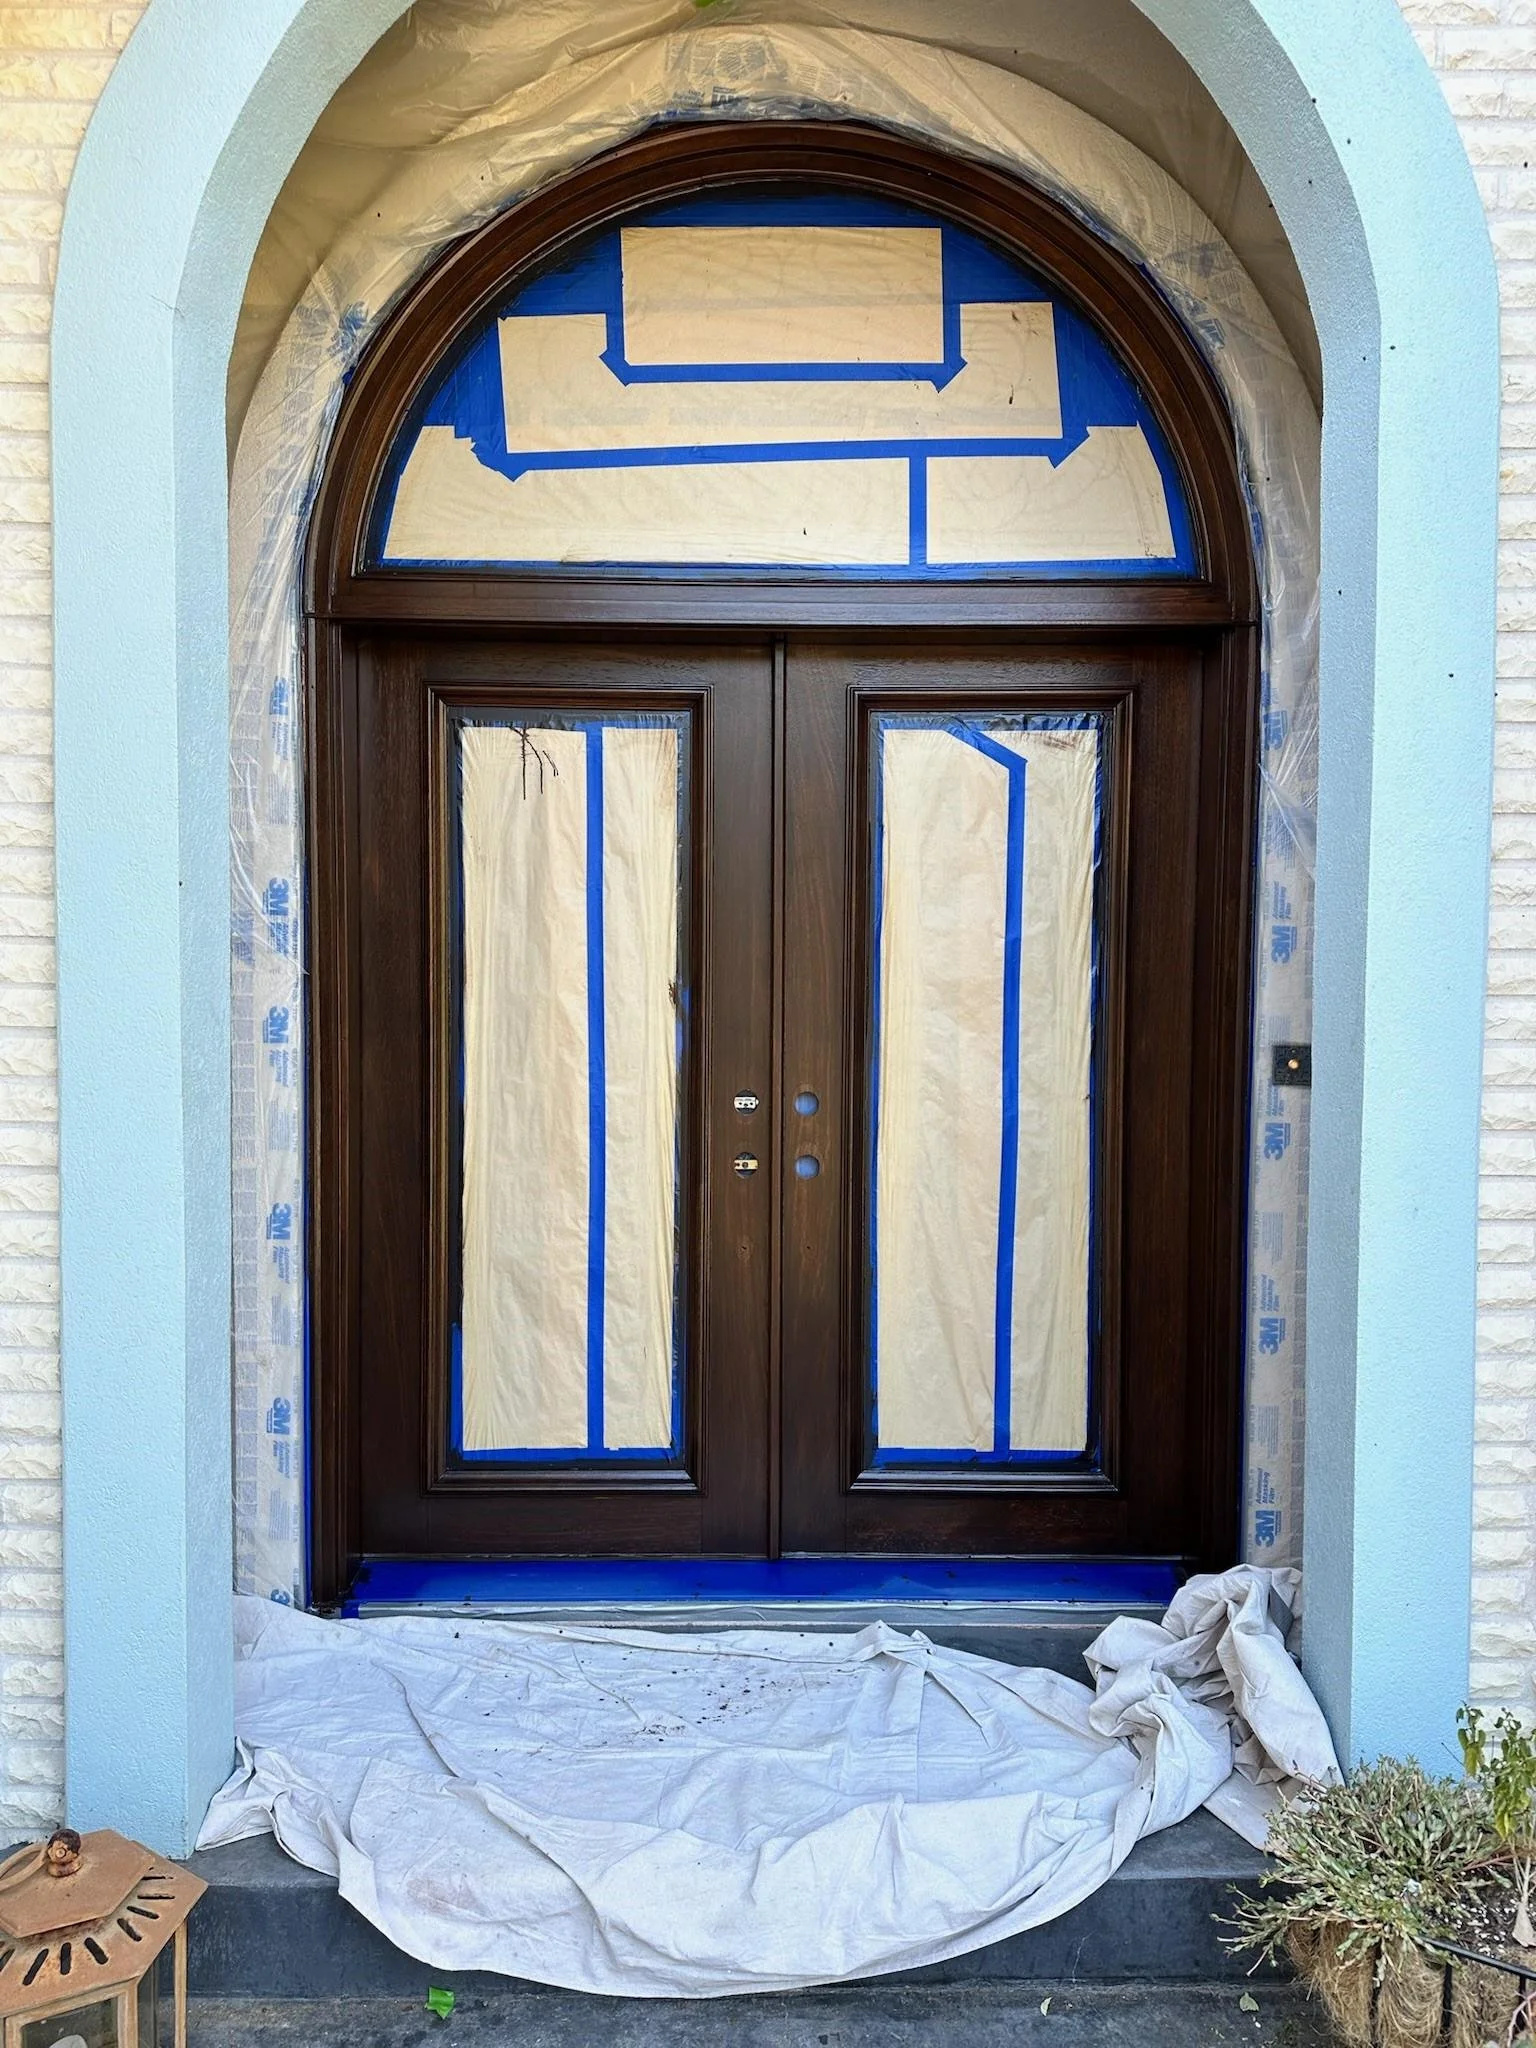
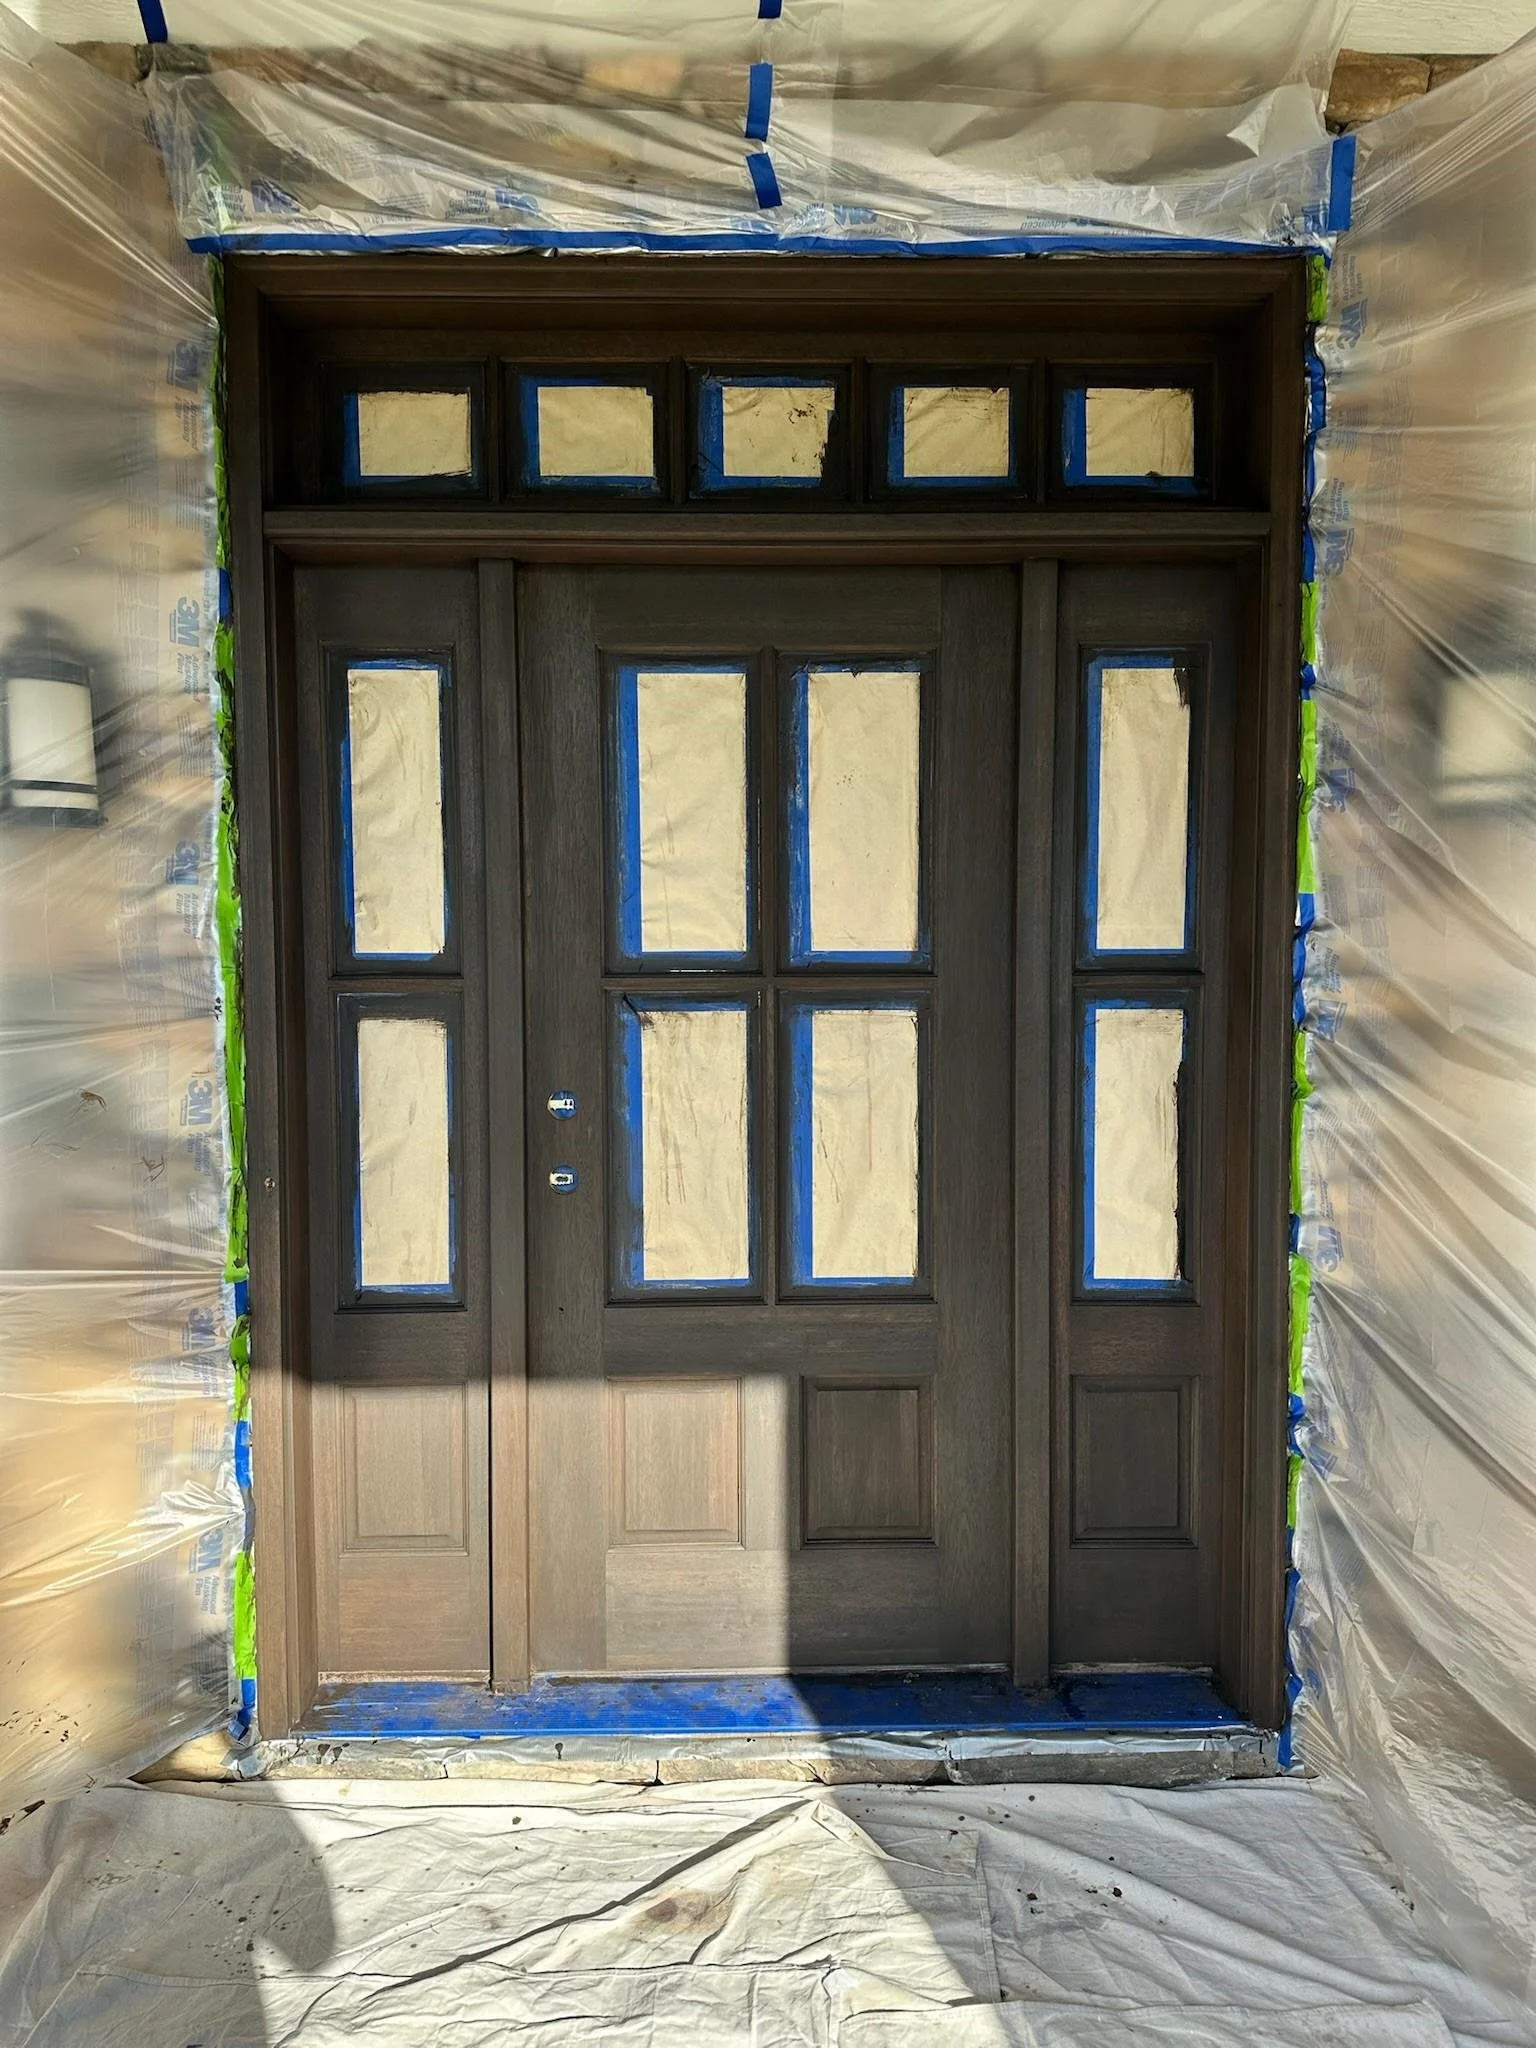
🎯 Step 2: Masking for a Clean Spray Finish
I always spray the topcoat instead of brushing — it gives a much smoother, more professional finish. That’s why I take time to mask off:
All glass panels
Surrounding walls and ceilings
The floor (using two layers of drop cloths for protection)
🧪 Step 3: Stripping the Old Finish
I used to sand the old finish off, but now I use a chemical stripper. It’s messier, but it saves time and sandpaper. Here’s how I do it:
Apply the stripper and let it sit for 10–15 minutes
Use a drywall knife on flat surfaces
Use steel wool + lacquer thinner for detailed areas
Neutralize the stripper with a light mist of lacquer thinner and wipe down thoroughly
Once everything is dry (after a few hours), it’s time to sand.
🪵 Step 4: Sanding — The Key to a Great Finish
I always say this: the quality of the finish comes down to prep, and sanding is everything.
I begin with 100 grit using a Festool random orbital sander for flat surfaces
Switch to a 3x4 SurfPrep sander for corners and edges
Hand-sand any intricate details
Work my way up to 120 and finish with 150 grit to ensure the wood is smooth but still porous enough for stain
🎨 Step 5: Staining
Staining front doors—especially with a water—based stain—can be tricky. You have to avoid lap marks and ensure an even wipe.
I use ICRO water-based stains with a special binder that mimics the feel and flow of oil-based products. This gives me more working time and even color.
Depending on the binder ratio, I can spray or wipe the stain
I always use two rags — when one gets saturated, I switch to a fresh one to avoid blotches
Excess stain is wiped evenly
With water-based stain, I can move to the topcoat after about 2 hours
💎 Step 6: Clear Coat for Long-Lasting Protection
Once the stain is dry, I apply a catalyzed exterior sealer from ICRO. This:
Seals the wood pores
Improves topcoat adhesion
Adds weather resistance
After 4 hours (or the next day), I sand with 400 grit to smooth out the surface before topcoating.
Then I spray 2 coats of ICRO catalyzed urethane, using my Kremlin EOS 30:1 air-assisted airless sprayer. I lightly sand or buff between coats to ensure a flawless finish.
📌 Note: These coatings require at least 50°F to cure properly.
🔩 Step 7: Finishing Touches
Once everything is cured:
I carefully cut the masking tape near the edges to avoid lifting the finish (lesson learned 😅)
Remove all masking film
Reinstall the hardware
Cut and install new weather stripping
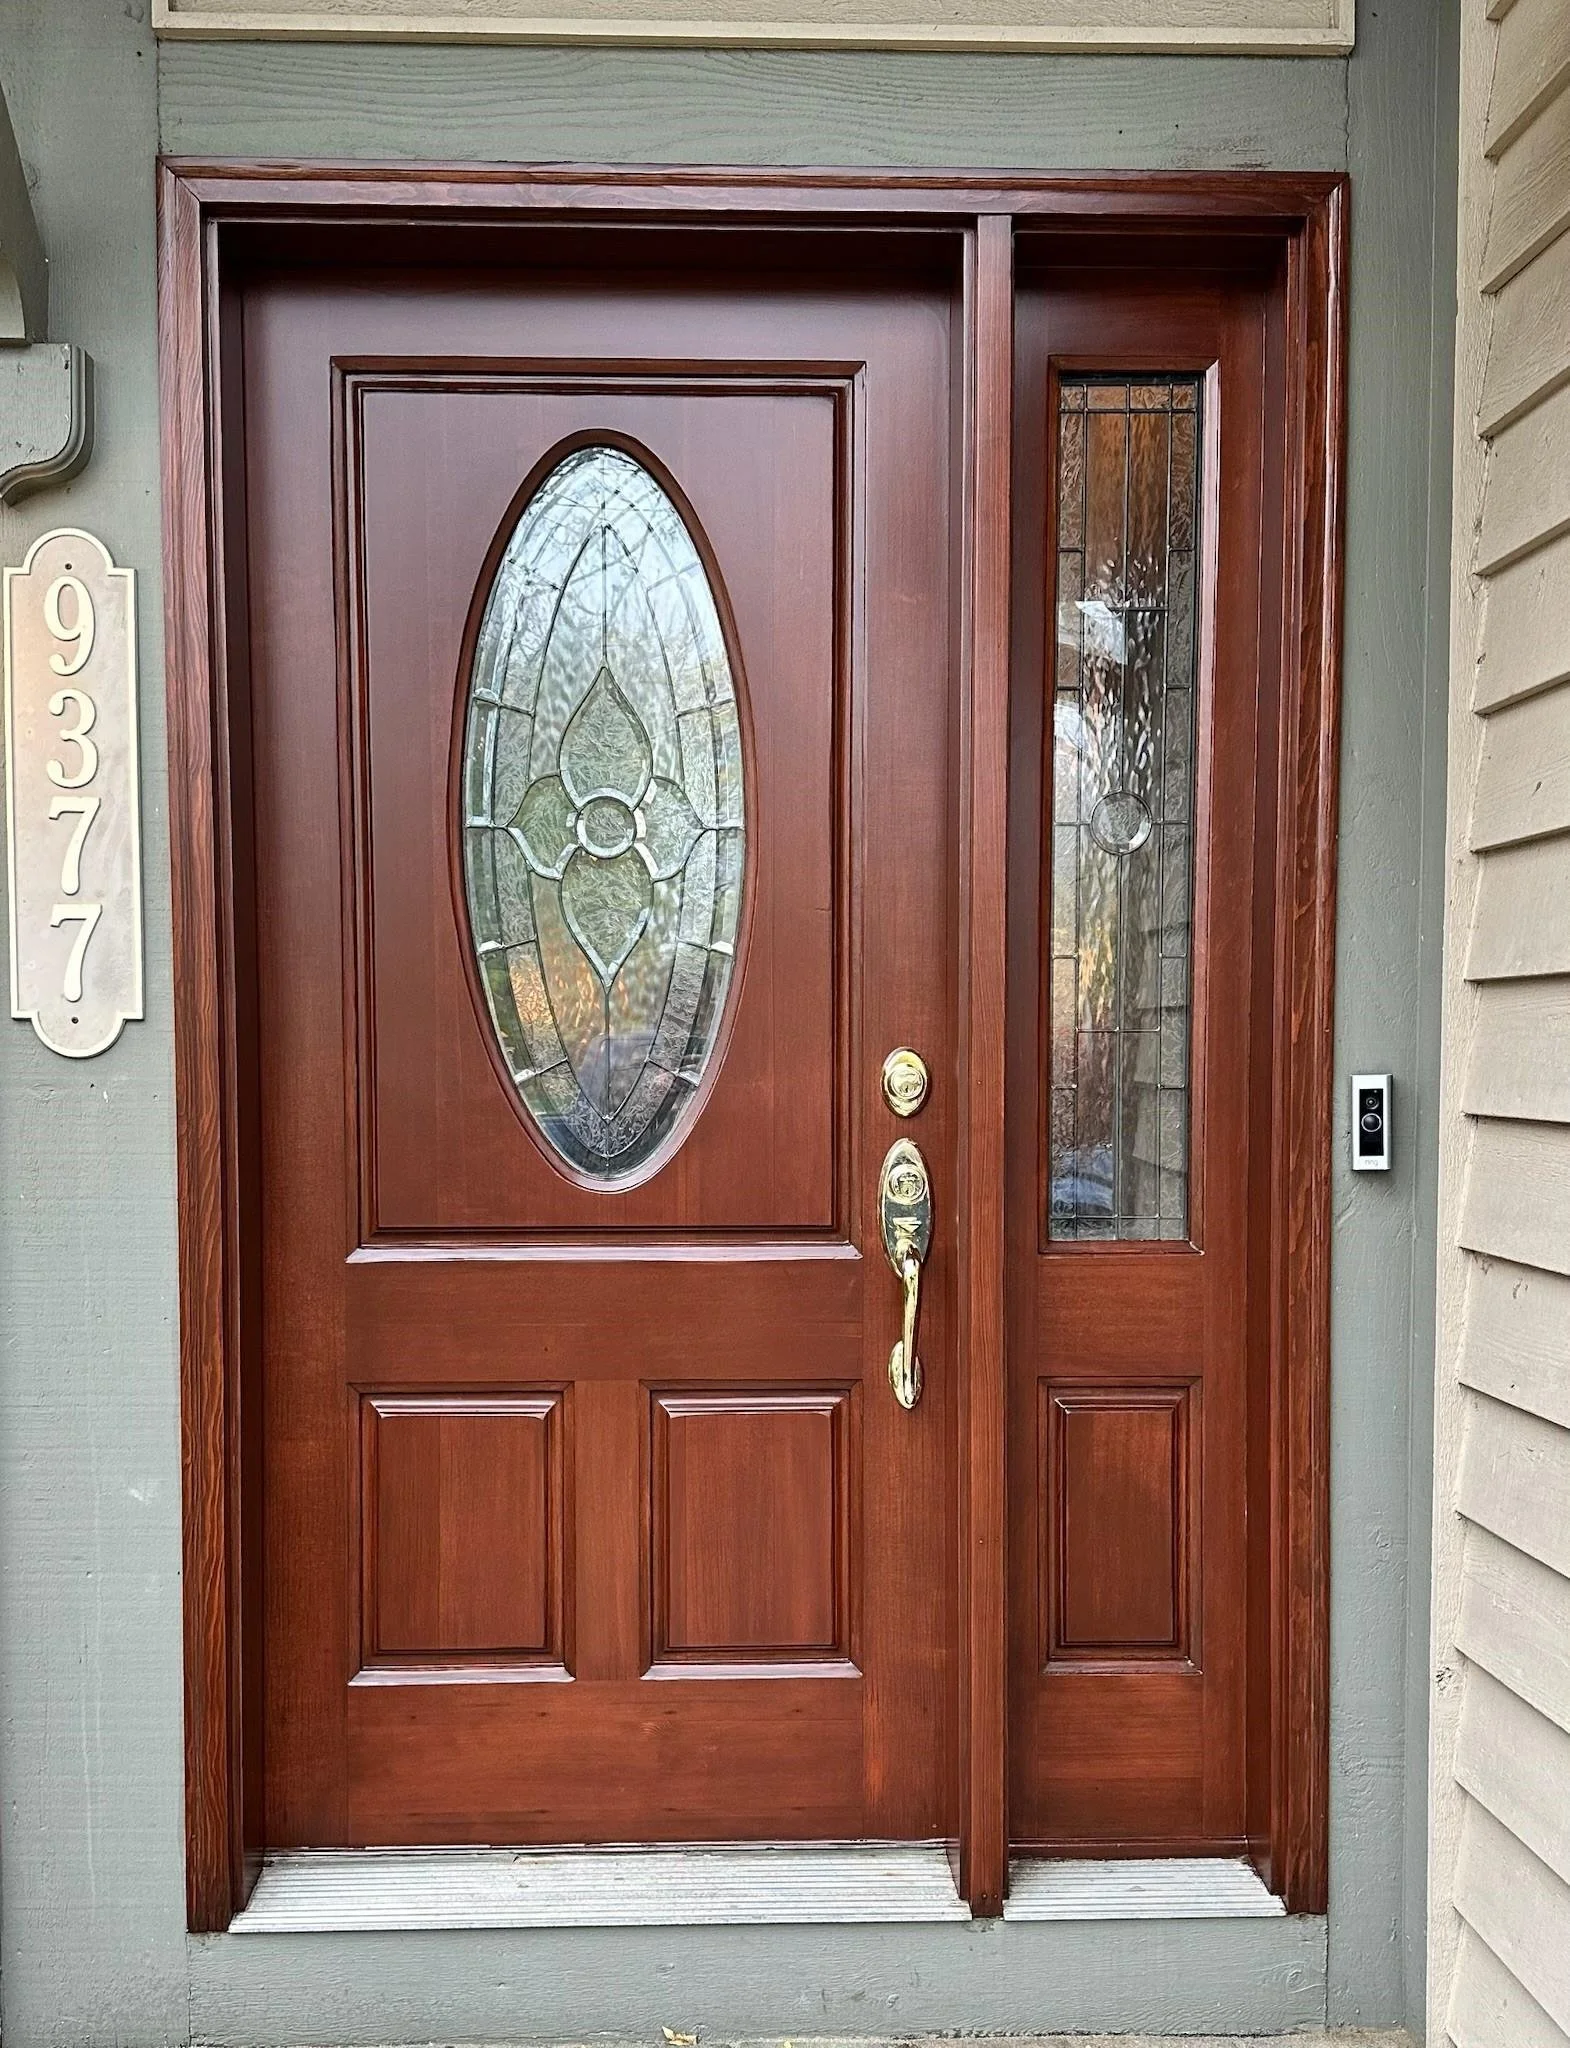
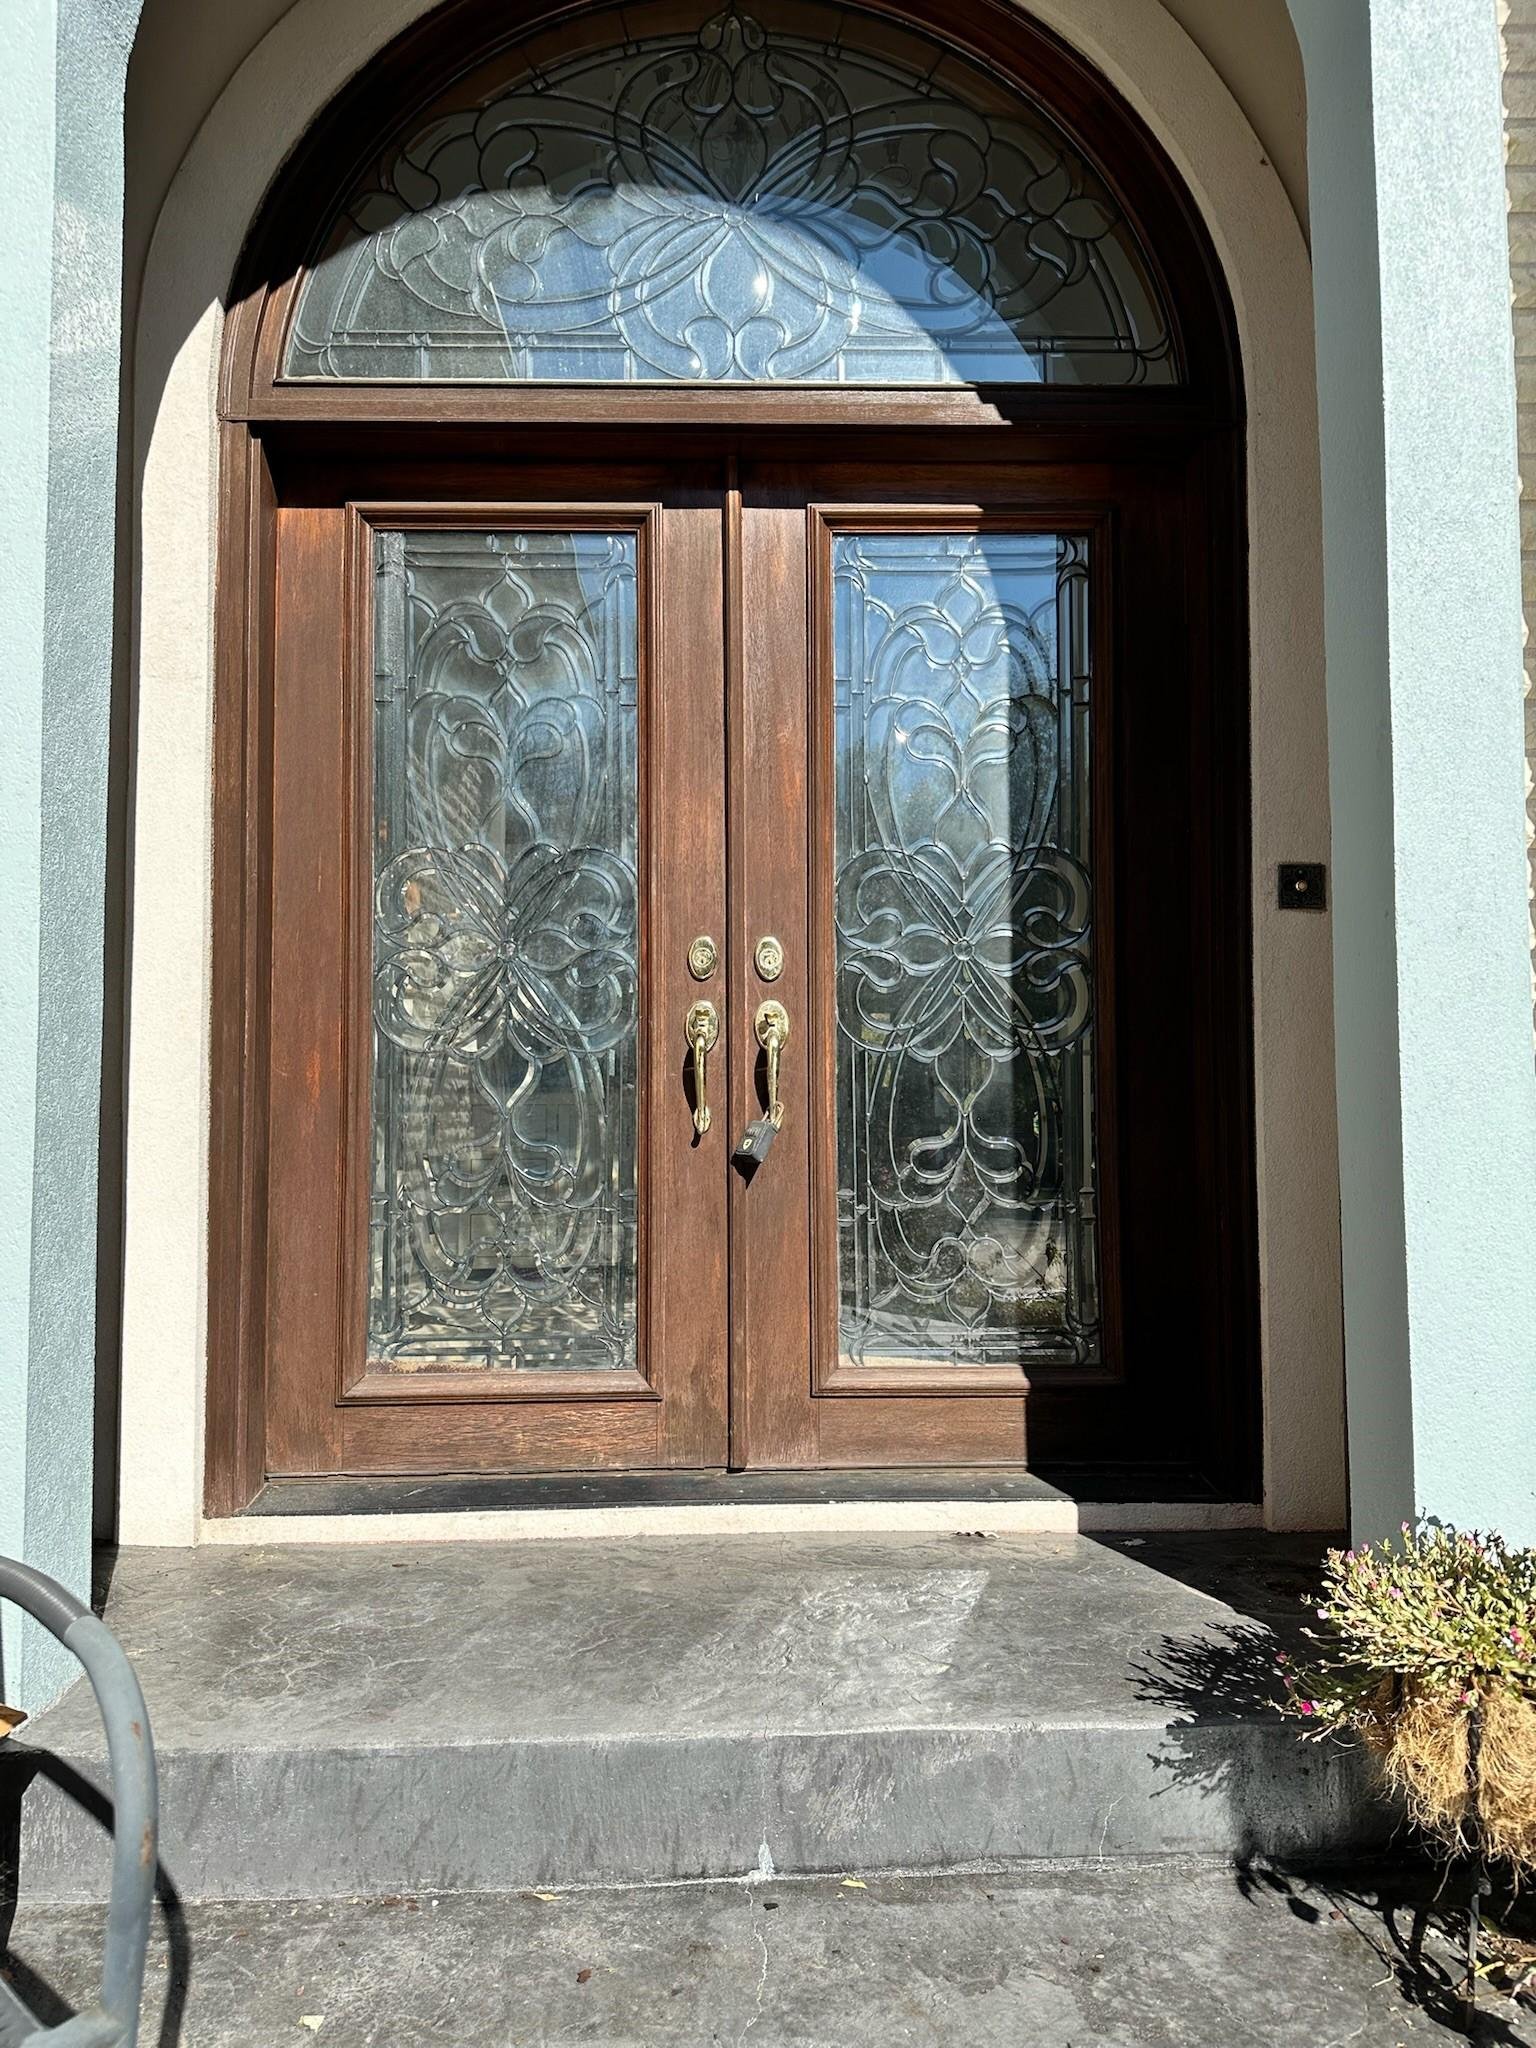
❤️ Why I Love Refinishing Doors
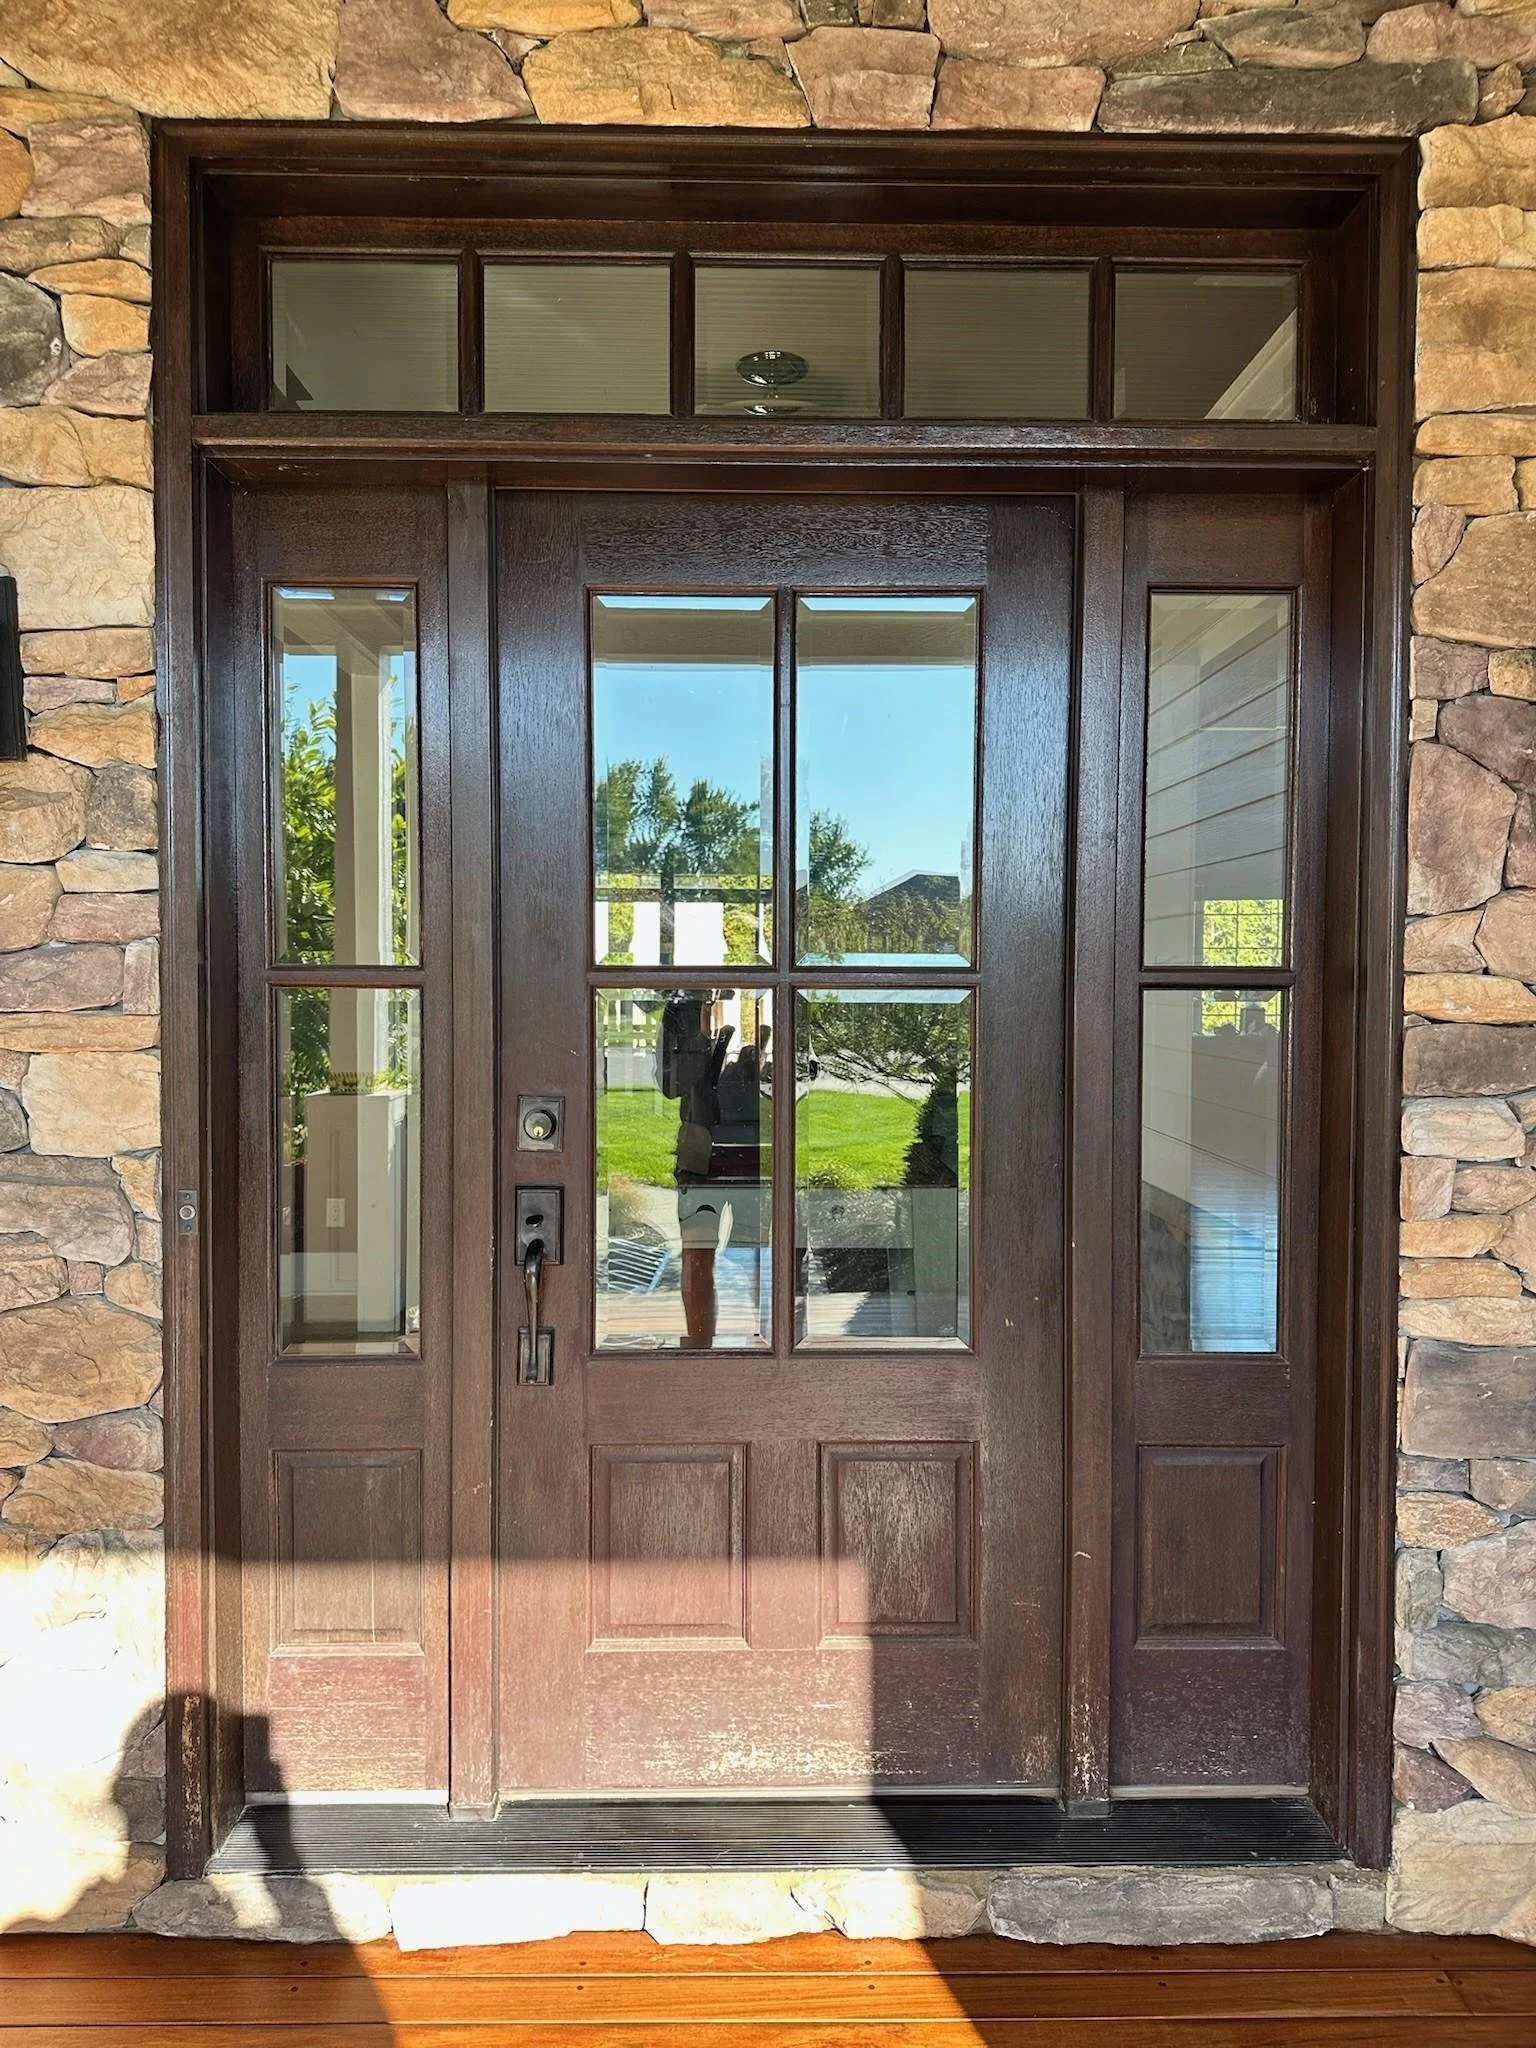
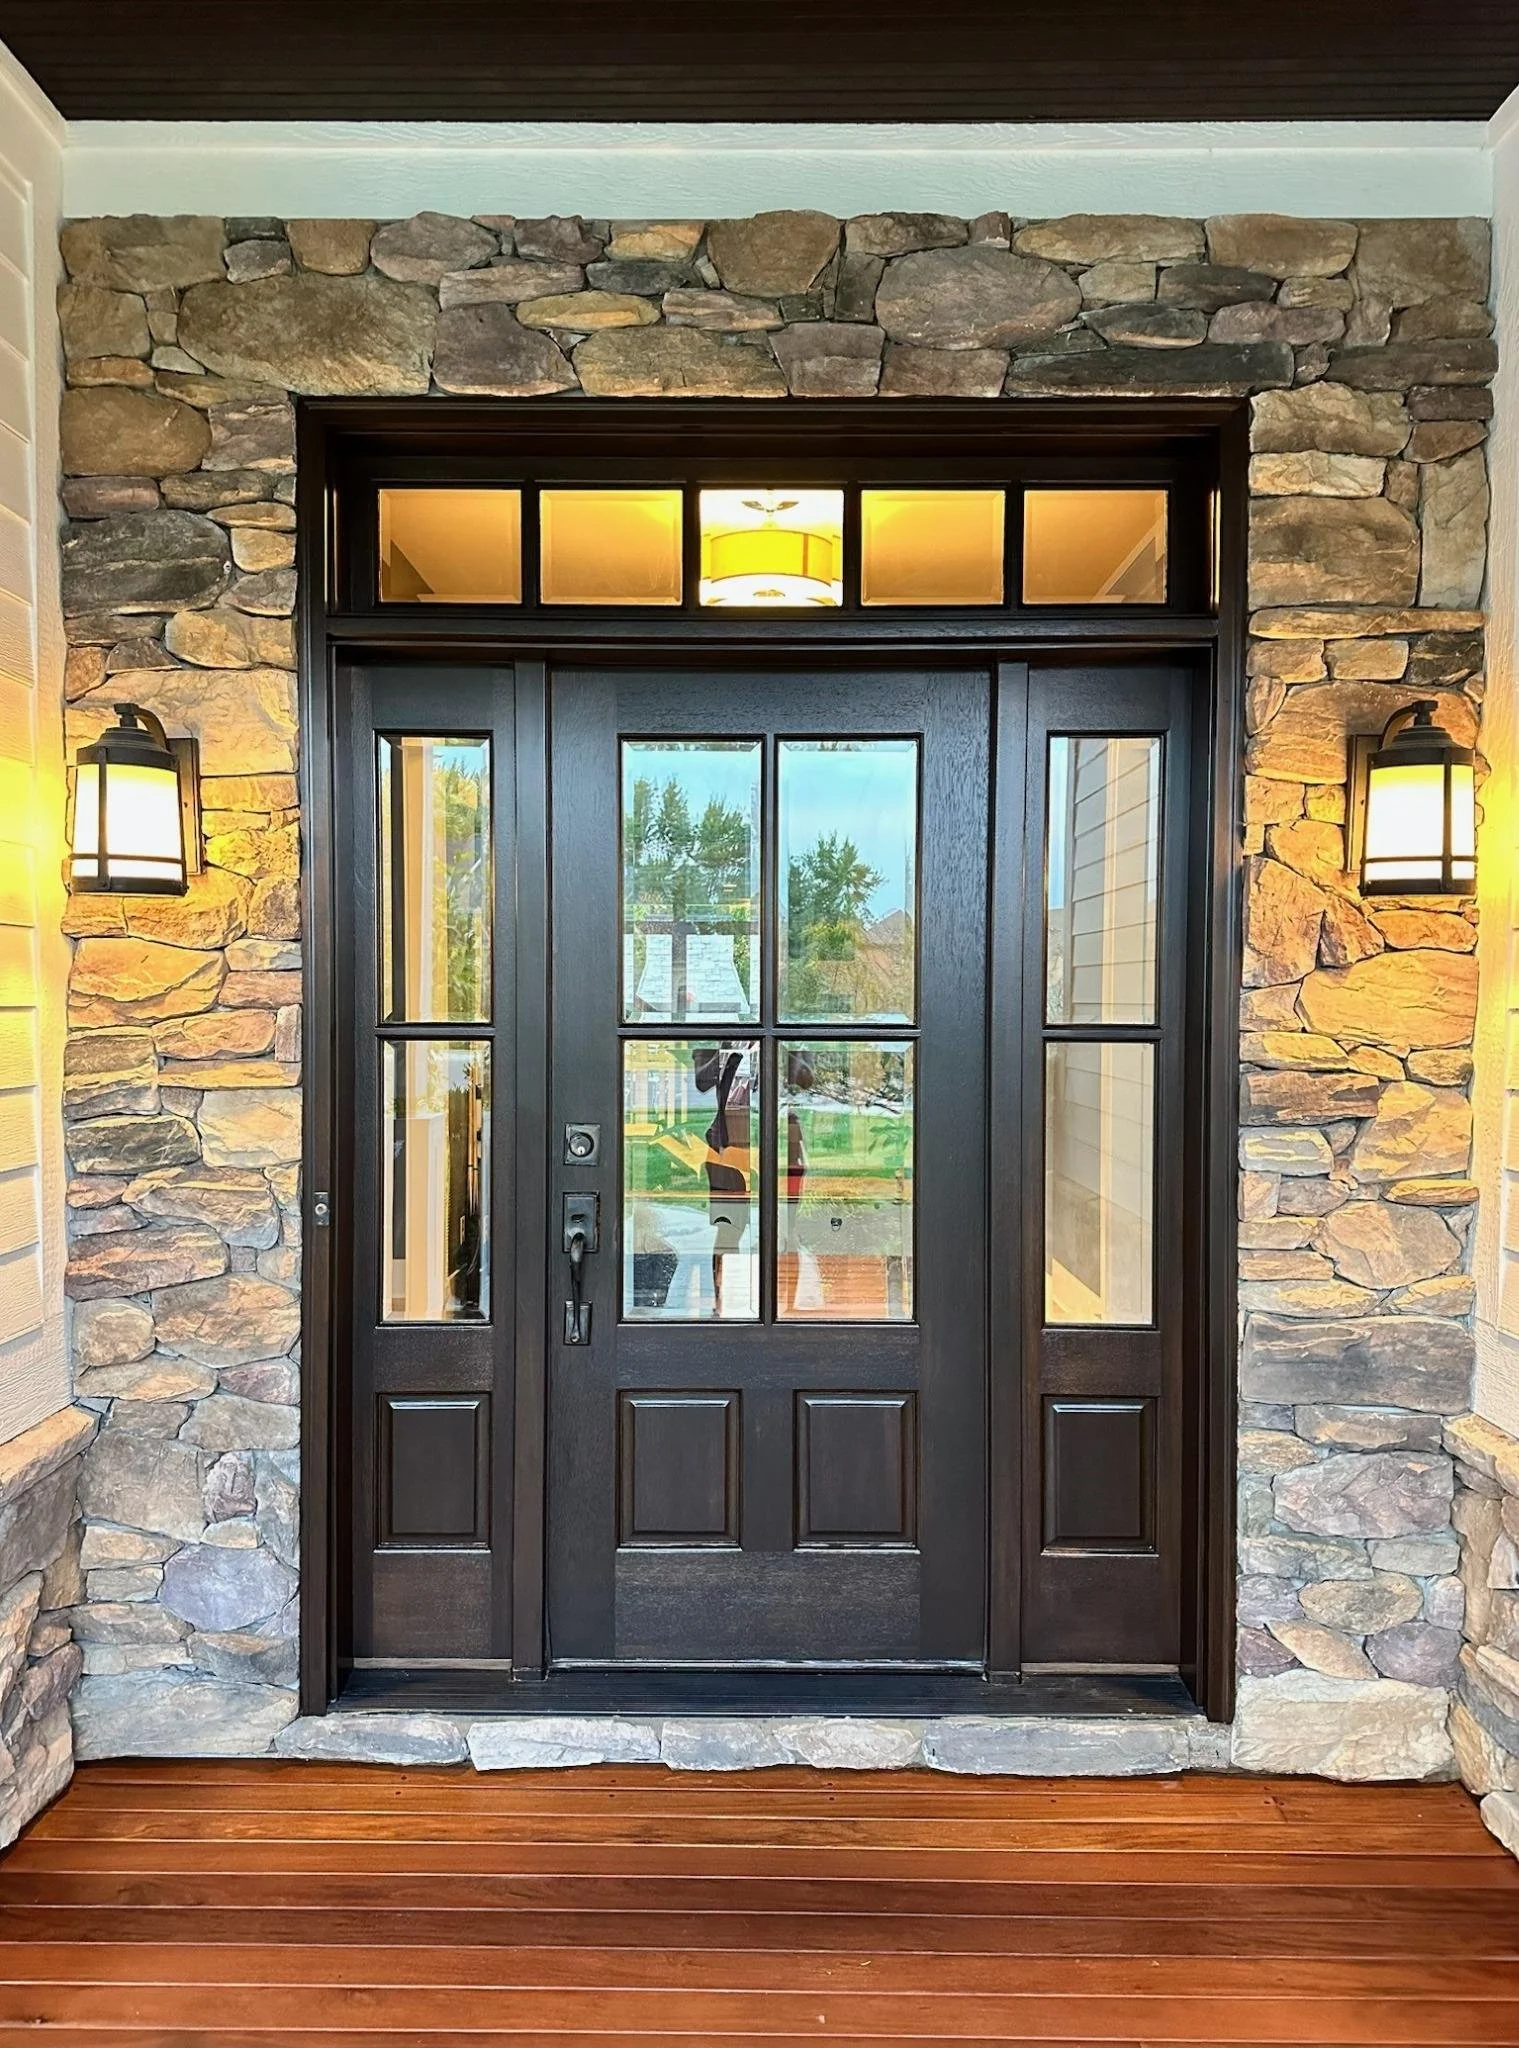
Front door refinishing is labor-intensive, but incredibly rewarding. Seeing a worn, faded door come back to life — protected and beautiful again — makes every step worth it.
Whether you're dealing with a sun-faded finish or just want to refresh your entryway, this process gives you a durable, high-end result built for Ohio’s weather.
Want to see how these doors turn out?
👉 Check out our Front Door Refinishing Gallery to see real transformations from recent projects.
While door refinishing is different from kitchen work, many of the same sanding and coating principles apply.
👉 See how we refinish kitchen cabinets step by step.
👉 Ready to Restore Your Door?
Contact me here for a quote or to ask questions.